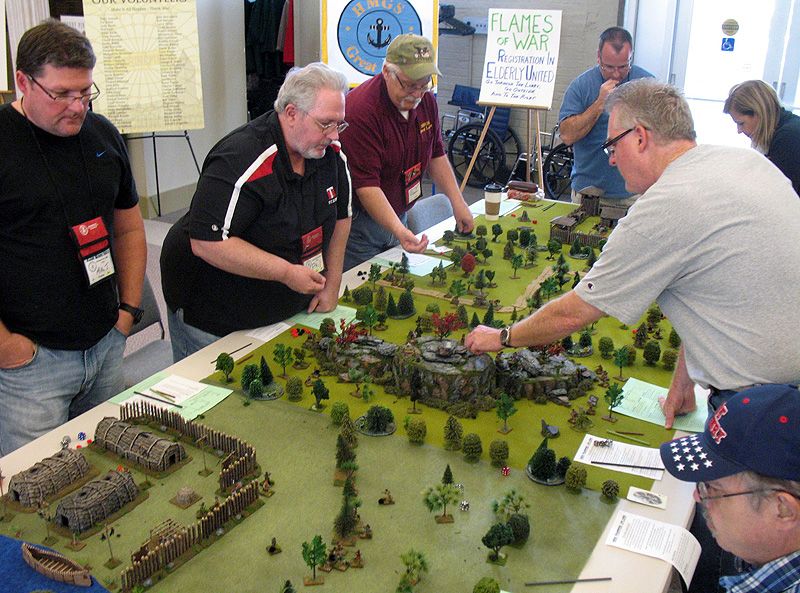
Hi...in honor of the release of our second title -- Queen & Planet -- from our game company, First Command Wargames, I'm reposting a battle report from my old miniatures gaming page. This game was played in my friend's Keith's basement in February of 2011. Lots of great Colonial/VSF fun...!
Battle of Ginnis - Colonials at Keith's Clubhouse
Rules: Queen and Planet
Scenario: The Battle of Ginnis – Sudan 1885
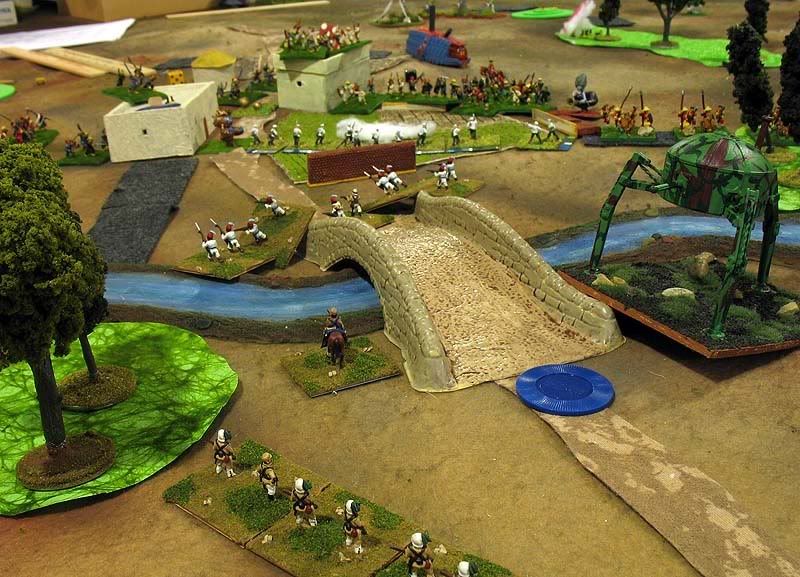
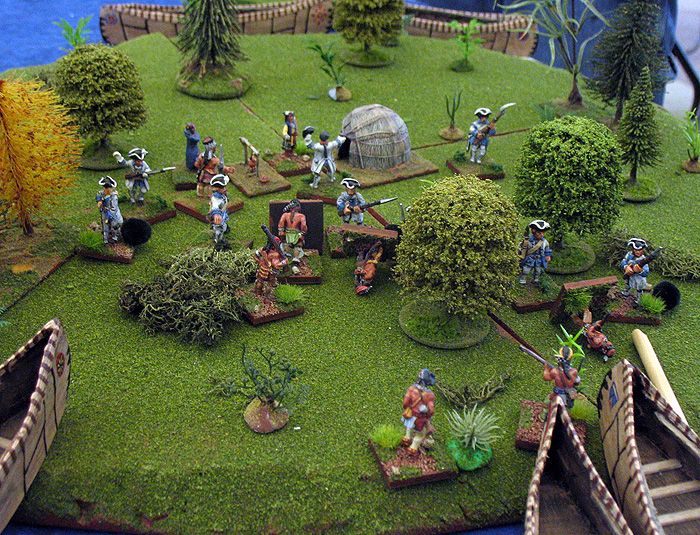
Battle of Ginnis - 15mm Colonials using Tom's rules. For some months, the Ansar had been filtering into the area around the Nile River villages of Ginnis and Kosha. The Ansar were building up forces to repel an Egyptian or British invasion and the British responding to the buildup had been increasing their own presence in the area.
 |
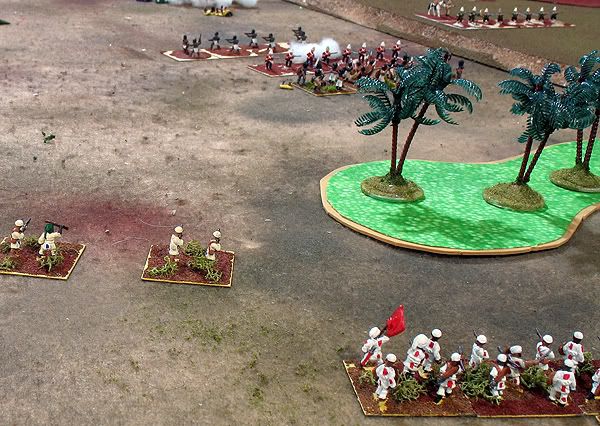
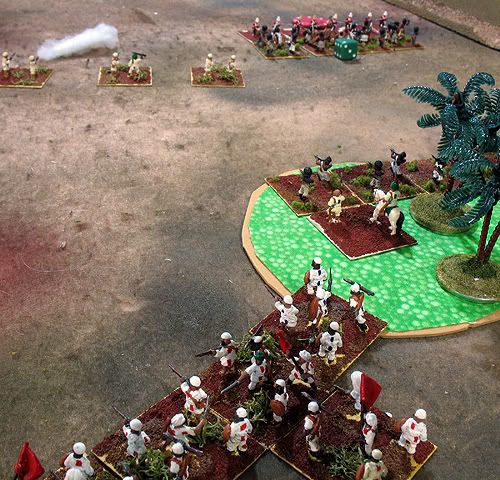
| The
Ansar
move up to support their Beja allies, who are heavily engaged
with the British |
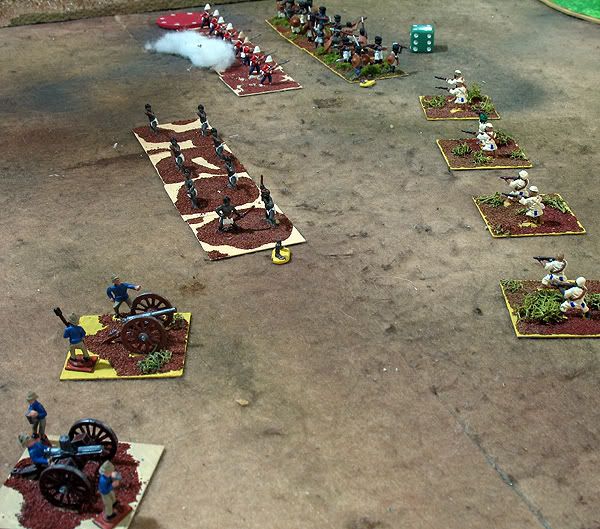
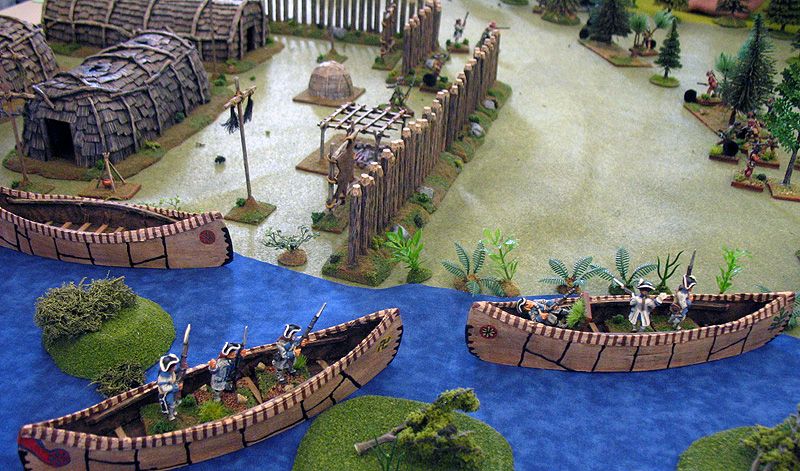
Skirmishes and artillery shelling had been increasing for several weeks, when the British decided they needed to do something about what might be an Ansar buildup of forces to invade Egypt. Two brigades of seasoned troops hurried to the area and Colonels Sams and Graves wasted little time in formulating an attack plan. Attack at dawn when the heathens were still asleep in their beds and put them to flight. Simple. Effective. If the Ansar had been abed when the British attacked, it would have worked well. Unfortunately, they were not only awake, but deployed into forward attack positions. In the first glimmers of dawn, Col Sams brigade approached the small village of Kosha with the Egyptian Camel Corp holding his right flank along the Nile, his batteries of cannon and Gatlings holding the center of the line and the Cameron Highlanders holding his left flank near a steep escarpment. The Sudanese IX battalion, at half strength, was in reserve.
 |
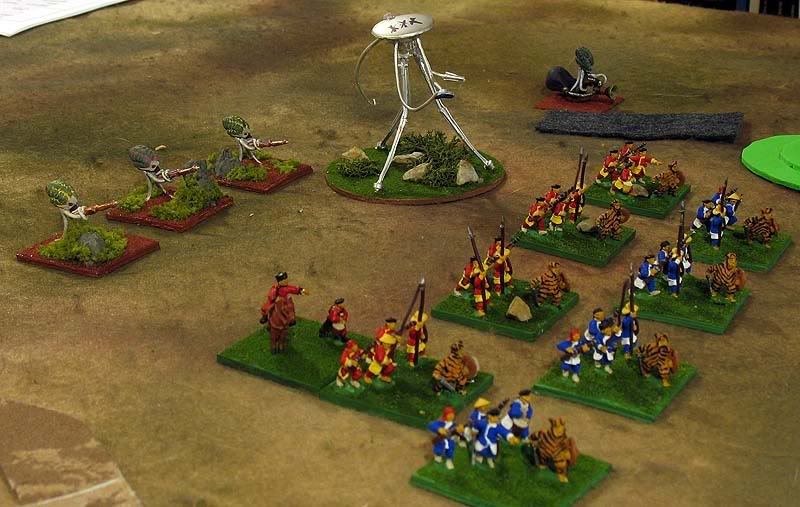
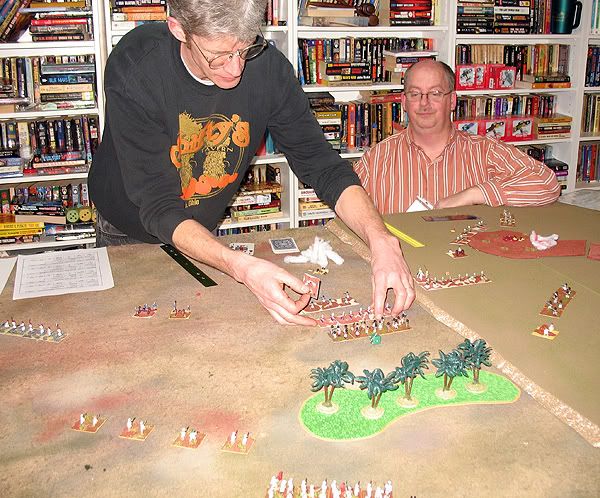
| Joel
moves
his Cameron Highlanders, the heroes of the battle, who held off
attack after attack, while Tom hums a bagpipe tune |
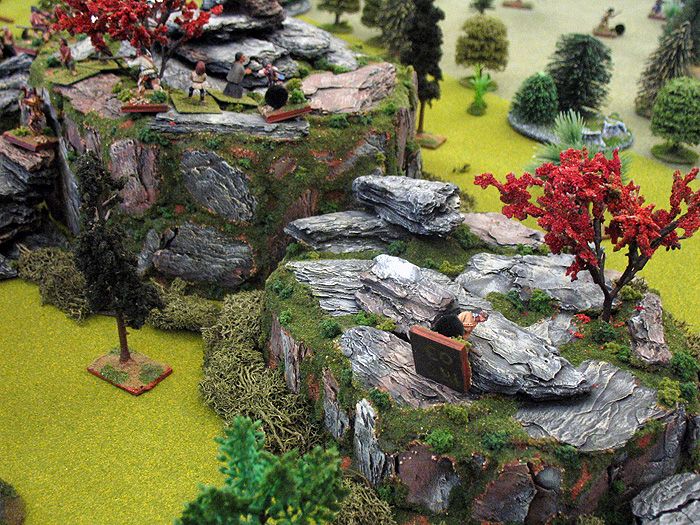
A sharp-eyed artillerist spotted the first Ansar among the walls and building of Kosha and opened up from extreme range. A skilled or lucky shot forced the Ansar Jehadia to withdraw into the village interior and it was later learned they had completely lost nerve at the unexpected casualties in their ranks and had fallen back south of Ginnis and as such were effectively out of the battle. C in C Graves urged his battalions forward with the caution that the British attack had already been discovered by the Ansar. There would be no surprise and no easy victory. As if in response, 1000 yards to his front along the edge of the escarpment, a captured Krupp artillery battery manned by subject Egyptian crews opened up on the Cameron Highlanders, doing some casualties and forcing them back to regroup. Colonel Graves held the edge of the escarpment as his right flank with the 1st Berkshires Battalion to his left was a battery of mountain guns and further left was West Kent Regiment. The 23rd Royal Engineers were far to the left trying to sweep around a rocky tor. The Durham Light infantry were in reserve.
Unfortunately, the next moment it became clear that the tor was swarming with Beja warbands and they were preparing to charge the Engineers. The Engineers were able to turn to meet the charge of the Beja, but could not get off a shot before they swept down from the tor and charged into their ranks. The Engineers were pushed back, but held firm. Colonel Graves ordered the Light Infantry to assist and moved forward to engage the Ansar artillery. As he did so, another Beja Rifle rub appeared out of the grey dawn and opened up on the 1st Berkshires at very close range. Casualties were taken and the infantry fell back to regroup.
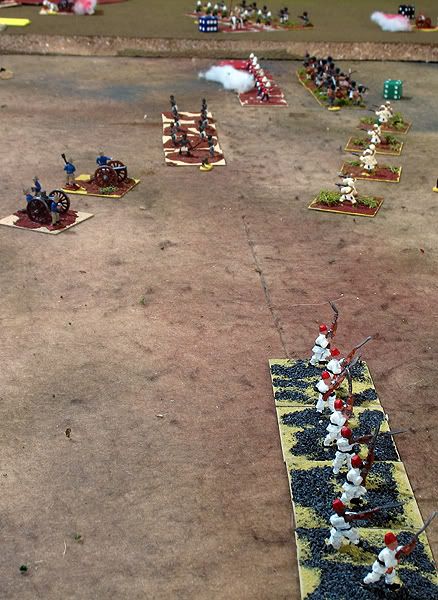
 |
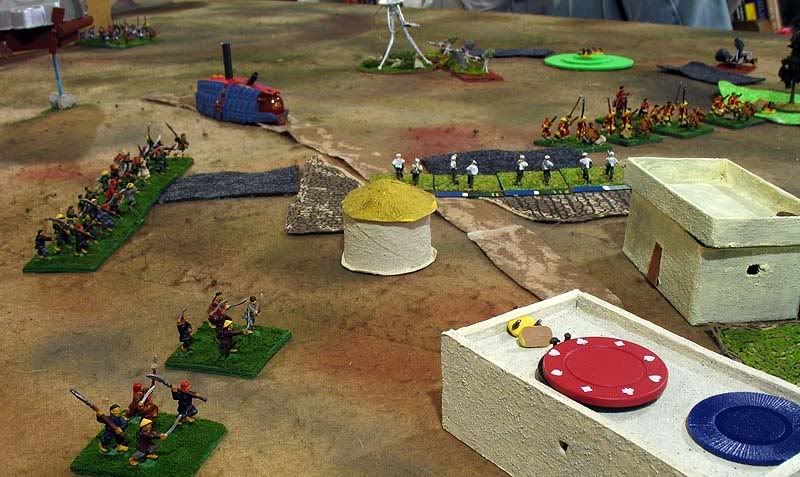
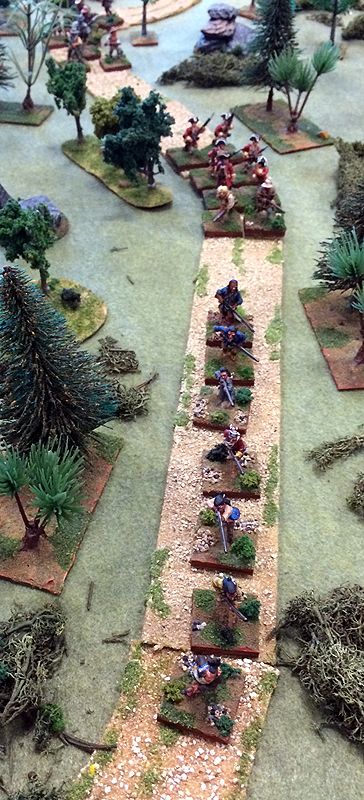
| It was touch and go, but the British battle line narrowly held off the Ansar attack |
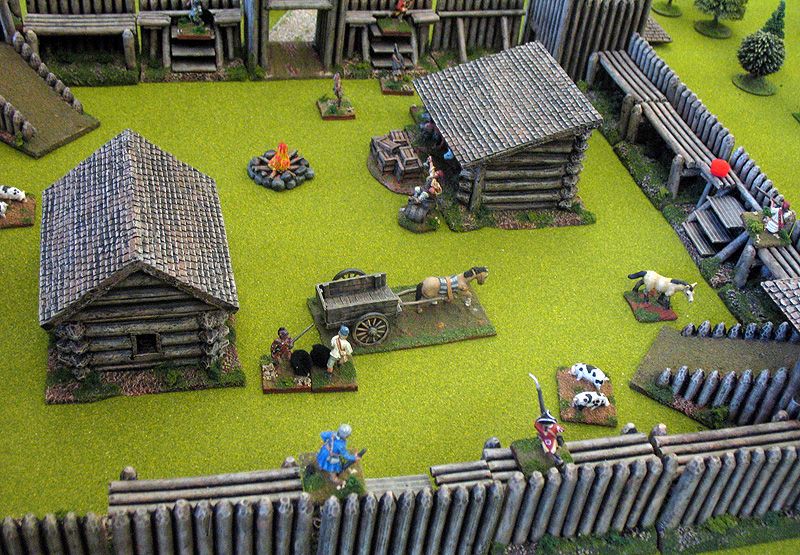
On the Nile flood plain, Colonel Sams was faced by more and more Ansar and Beja pouring out of the Palm orchards between the two villages. Heavily outnumbered, Colonel Sams forces gave better than they got. The Egyptian Camel Corp withstood a furious charge of Ansar warbands near the village of Kosha, driving them back and then watching them fade into the dust their charge had kicked up as their morale failed as quickly as their charge had failed. Just as quickly, the Egyptians were shaken, after the charge, by the long range, but effective fire of a Krupp gun sheltering in a Zariba far to the Ansar rear. However, the two different threats shook the Egyptians and they fell back on the British fort to our rear, leaving only the Gatlings and field guns to hold the left flank of Colonel Sams’ attack. On the left flank of Colonel Graves, the Beja had put the Engineers to flight and had turned on the Durham Light Infantry, who having seen the Engineers dispatched had fallen back and received the support of the West Kents. They now stood together, 600 line infantry versus 750 Beja warriors.
Colonel Sams was having both good fortune and bad. The Cameron Highlanders had been engaged with a Beja warband rub for almost an hour. They struggled back and forth and were wearing each other down when the Camerons held their fire to the last moment before another short charge carried the Beja home. This time, they were put to flight, disappearing into the Palm grove. Unfortunately, the Beja appeared to be limitless as another rifle rub moved out to replace them. Unfortunately, the fire was in the belly of the highlanders and they took it to the Beja, inflicting terrible casualties, wounding the Sheik that lead the army and driving them off as well.
 |
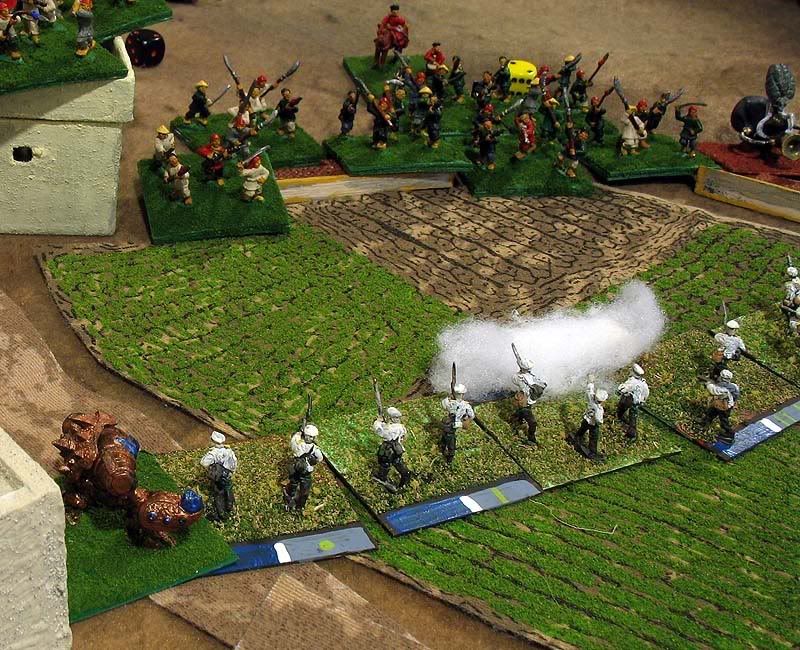
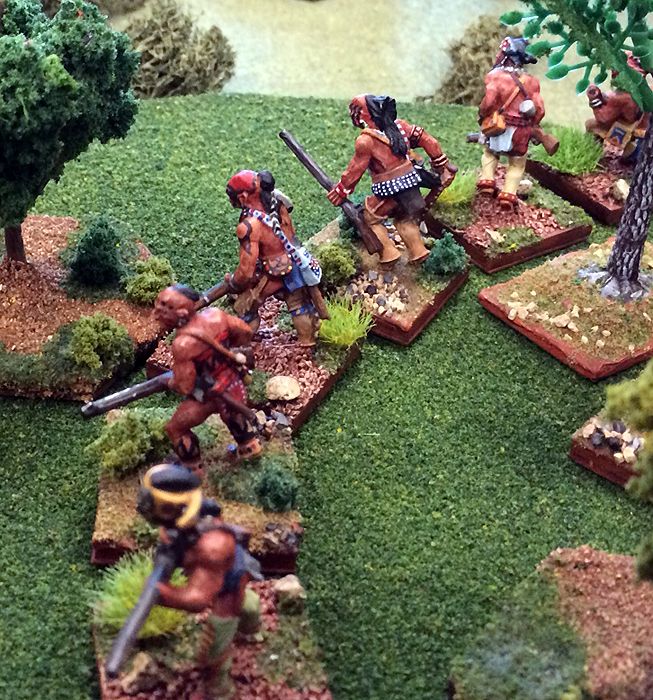
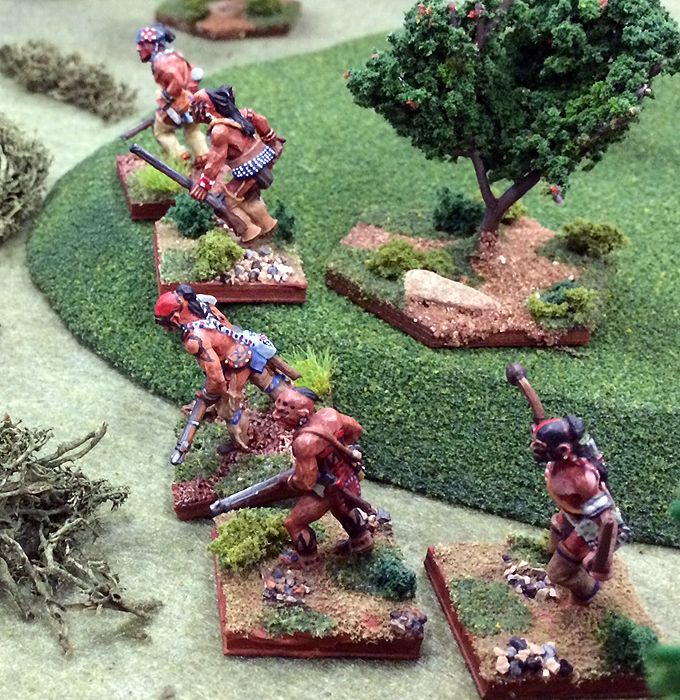
| The last Ansar and Beja waves prepare prepare to hurl themselves
on the British line, once again |
On the escarpment, Colonel Graves forces had managed to obliterate both the Beja warband and rifles and only the artillery remained to be cleaned up. The CinC, seeing and hearing the Camerons put flight to two Beja rubs rode down to join them and ensure that the British would be victorious. The Ansar lost heart at the furious Camerons, the loss of their Sheik and retired sullenly, but mostly intact, into the desert. The British sighed with relief as their own forces were heavily shaken by the aggressive attack of the Madhist forces. --
Tom Graves, Read About The Games People Play At Columbus Face Games Blog, http://columbusfacegames.wordpress.com/
Queen & Planet rules are now available on the First Command Wargames website: http://www.firstcommandwargames.com/