 |
| A new banner created for a preivously-painted Pictish spearman |
While I continue to paint my first Andalusian mounted unit for my Saga Moorish army, I thought I'd do a quick blog post on some other banners I recently made and my new flocking scheme for the Moors. I have to admit that I have had a variety of flocking schemes ever since I stepped past the "paint the base brown and put green flocking on it" stage.
Here's the latest.
Step one is to paint the base and its edges with a craft paint from Folk Art called 939 Butter Pecan. I wanted a color that reflected the arid land of southern Spain, but could also not look out of place for "desert" troops (since these are essentially Arab figures, after all). I know some may wonder why I bother to paint the base after seeing all the layers that are going to go on top of it, but I feel this prevents any base material from somehow escaping and peeking through when it is all finished!
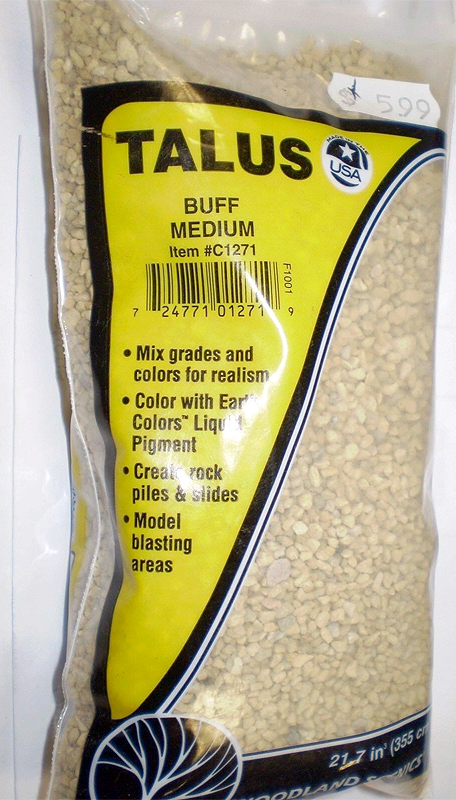
Step two is to glue small rock piles in two places. I use Woodland Scenics Medium Buff Talus. I will dab the area with some white (PVA) glue with an old paint brush, and then use that glue-soaked brush to "pick" up 2-4 pieces of the tallus and move it to the base. I use the brush to arrange the rocks how I like and dab more glue some the pile is completely surrounded.
After the glue has dried,
step three involves painting the base (but not the rock piles) with white glue. I then use a small plastic spoon to pour Super Fine Basing Grit (picked up at the local hobby shop) all over the base, tapping off the excess by flicking the bottom of the base with my finger.
 |
| After Step 4, with the Citadel Sand added -- not the rock pile at rear of base |
Once this is dried, I paint the basing grit with white glue in s
tep four -- once again, trying not to cover the rocks. If you get a little along the edges, though, it is fine. It makes the rocks look like they've been exposed by erosion and are peeking through the soil. Here is where readers can help me. I am looking for a new container of my next flocking material as this one is almost empty. Yes, I know it is old, but it is Citadel Sand. If anyone knows where I can get more of this, please let me know. Or if you have a spare container, I'd be willing to buy it off of you. Like with the basing grit, I pour this over the white glue with a small plastic spoon, tapping off the excess. It is usually after this stage that I do my first spray of clearcoat -- I prefer Testors Dullcoate.
 |
| After Step 5 with the grass and tufts added |
Step five once more involves white glue -- seeing a trend here? I paint two irregular shapes on the base on opposite sides, covering anywhere from 1/3 to 1/2 the base. I then sprinkle Woodland Scenics Blended Green Grass onto the base, tapping off the excess, again. While that is still wet, I apply two tufts to the base of foot figures (I will use more for the upcoming mounted figures). One tuft is a darker, mottled gray green like you would see in plants in an arid climate. The other is a brownish-red tuft of dried out vegetation. There are so many different makers of tufts and I have them from several sources, so if you are following my method, use which ones you have available.
 |
| One of my Moorish spearmen with his base completely flocked and Dullcoated |
Once the tufts and green grass is dry, I apply one final coat of Dullcoate. Believe it or not, I am not actually done at this stage. The final step, six, involves me trimming the tufts with small sharp scissors. Sometimes "hairs" of the tufts are sprouting off in wild directions or are too long. I trim these to give it a more uniform appearance. One final tap and blowing on the base to dislodge those trimmed hairs and the flocking is finally complete!
 |
| My Pictish spear unit's banner created in Photoshop |
I created two new banners in Photoshop when I was doing the banners for the second batch of Andalusian spearmen (see my previous entry). I create these by finding images with Google searches to use as my base. I usually add the word "clipart" to the search, so for the Pictish banner I used "Pictish" + "symbols" + "clipart." I thought it would be fun to use a Pictish deer because in Saga, the rare side of the command dice (the "six", so to speak) is a stag. I paste the image into a new photoshop document set at 300dpi and with a transparent background. I then use the Quick Select Tool (sometimes called the "magic wand") to select white or black areas of it. I change the color of those areas in Photoshop to color the banner. Once the banner is done, I copy it, paste it into a new document and "Flip Horizontal." This gives a reverse image of the original, and I combine the two together into a new banner.
 |
| Shield maiden with banner by me, figure painted by Ted Bender, shield done using decals, I believe... |
I had decided to add a banner to one of my large Pictish spear units because I saw how useful they could be playing against Jenny's Shield Maidens in her Viking army. Since none of the six figures in the unit had a banner, she chose a likely spear-armed one and I created this banner for it using Photoshop. I probably should have made it larger, but I was going by her specifications. I will include the base images in case anyone wants to use them.
 |
| My banner for Jenny's shield maidens -- yes, the Viking runes say "Woman Power!" |


No comments:
Post a Comment